There are tons of brands on the market that all promise to make your life a breeze, but if you’re not careful you can end up with a smart home that isn’t quite “smart” enough to work together. IFTTT, short for “If this, then that,” seeks to address that issue with a simple, yet surprisingly sophisticated, conditional trigger system. So if you’re looking for a solution to make your smart home a little smarter, or even if you’d just like to automate some daily tasks, read on below for our breakdown of how to get started with IFTTT.
Getting Started
While not every device works with IFTTT, the good news is that the service is completely free. In this guide, we’ll be using an example that doesn’t rely on any sort of specific smart technology in order to give you a platform-agnostic sense of how the system works. First off, you’ll want to navigate to IFTTT.com. Setting up the service can be handled through the web interface or through the IFTTT app (Play Store / App Store), and while this guide will focus on getting to know IFTTT through a web browser, the process is quite similar on any mobile device. Click on Sign Up in the top right corner to create your free account. You’ll use these credentials from here on out to manage your triggers and connect your various smart devices.
Applets
The primary way that you’ll interact with IFTTT and increase the efficiency of your connected devices is through tools called “Applets.” The service is built with hundreds of pre-made Applets, so chances are that there are already solutions out there that accomplish what you’re looking to do.
Selecting a few of these tiles will help IFTTT give you some recommendations on the types of Applets you might be interested in, but we’ll talk about how to diverge from those recommendations below. Simply put, an Applet functions as a bridge between two different actions. When one event happens (the “If”), the second event will trigger (the “That). The possibilities for customization with IFTTT are nearly endless, and with a little bit of tinkering, you can accomplish some really creative things. Once you’ve selected your favorite services, you’ll be brought to a page with some recommendations for Applets. This is a great opportunity to give one a try to see exactly how this service works.
When you click on the Applet, you should be brought to a screen that looks something like this.
From there, just click to turn on the applet and you’ll get an email sent directly to the address associated with your IFTTT account whenever it will rain the following day. It’s as simple as that! But, chances are you’re looking for something a little more specific than the default recommendations that the IFTTT homepage has to offer. Let’s talk a bit about how to find a specific Applet.
Finding A Specific IFTTT Applet
In order to find an Applet that works with your specific smart tech or service, simply navigate back to the IFTTT dashboard and click on Search in the upper left-hand corner.
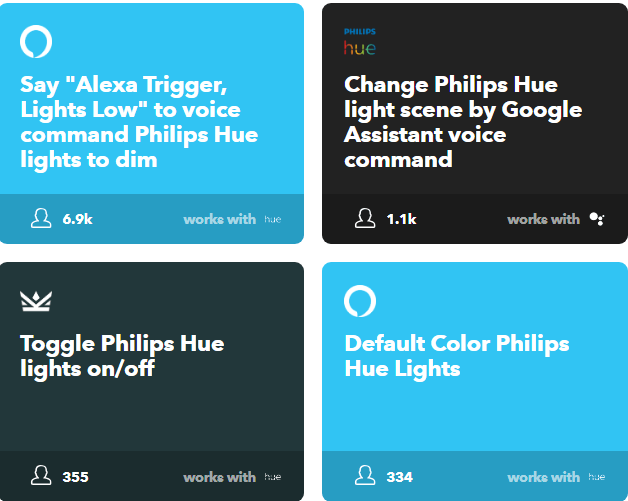
For this example, we’ll use Philips Hue – one of the most popular smart home lighting solutions. Upon searching for “Philips Hue,” we’re greeted with a page full of tiles for different ways we can connect these products with other smart utilities.
The four tiles above are just a tiny selection of the premade Applets available for Philips Hue, and there are equally robust lineups for a wide range of smart products. Click More at the bottom of the screen for a near-endless list of different Applets you can turn on with the simple press of a button.
Creating A Custom Applet
IFTTT’s collection of Applets is pretty impressive as is, but where the service really shines is in its ability to allow you to create your own triggers that are customized exactly to your needs. To get started on your own custom applet, click My Applets in the top left corner of the main IFTTT page, followed by the New Applet button on the next page.
This will bring you to the main page for custom applet creation. To get the process started, click on +This to set the first part of your conditional trigger.
The next page has a ton of tiles for you to choose from. Remember, at this point you’re choosing the initial action that will then trigger a response. Let’s keep things simple for now with a “Date & Time” trigger.
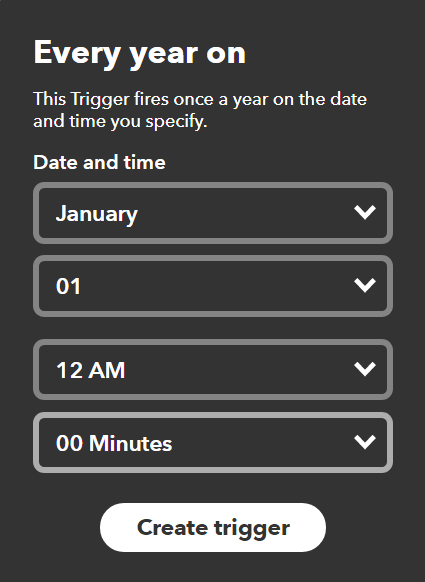
At this point, you’ll have the option to choose from a variety of different time intervals. Let’s set ourselves up with a trigger every year at 12:00 A.M. on January 1st.
Now it’s time for the That part of your trigger. Just as you did before, click on the next part of your Applet.
Let’s send ourselves an email to celebrate the new year! Click on the Email tile to fill in the details.
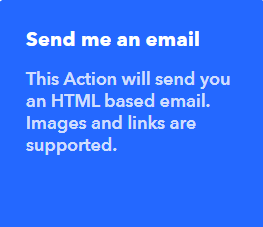
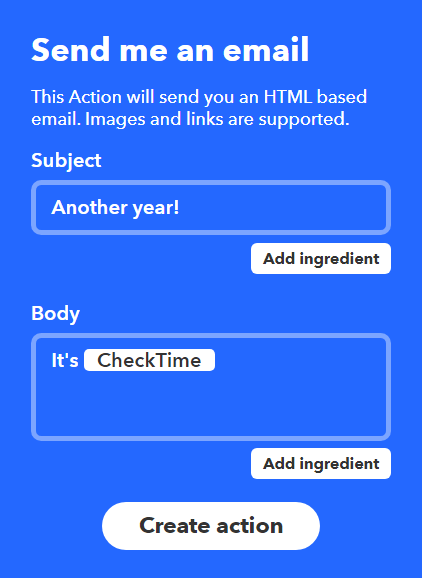
Next, choose Send Me an Email, fill out the required information, and click Create Action.
The final page will confirm your IFTTT task. All that’s left is to click Finish and create your first custom Applet!
Now, having IFTTT email you at the beginning of every year might not be the incredible home efficiency you had in mind, but the process for creating an IFTTT Applet is pretty much the same regardless of what you’re trying to accomplish. Just figure out your trigger (The “If This”) and what you want done (the “Then That”), and you’re well on your way to filling out a smart home with convenient automation. With a little time invested, you’ll be able to sit back and relax as IFTTT communicates between your devices and services and makes the dream of a truly connected home a reality. Enjoy!


