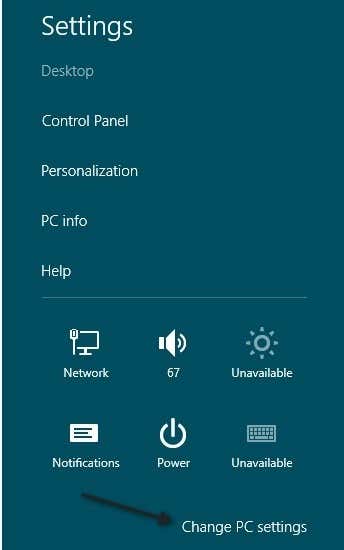
The process of adding a Windows 8 machine to a Windows 7 homegroup is pretty easy. First, open the Charms bar by pressing Windows Key + C or hovering the mouse over the top-right corner of the screen. Then click on Settings.
Next, click on Change PC Settings at the very bottom.
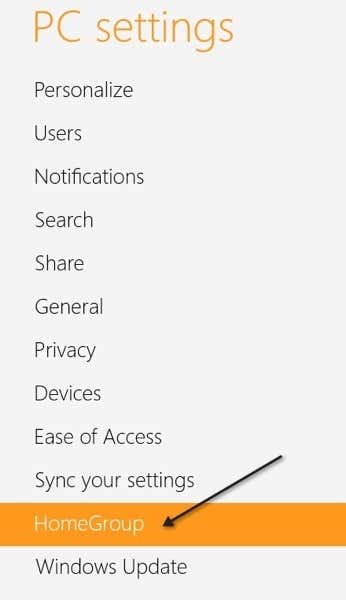
Now go ahead and click on HomeGroup in the left-hand pane:
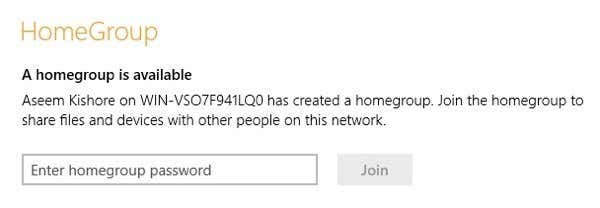
Now make sure that at least one Windows 7 computer is turned on that is joined to the homegroup. You also have to make sure that both of the computers are on the same network. In Windows 8, it will automatically search for a homegroup on the local network. You’ll see a screen like this saying “A homegroup is available” and a place to enter the homegroup password.
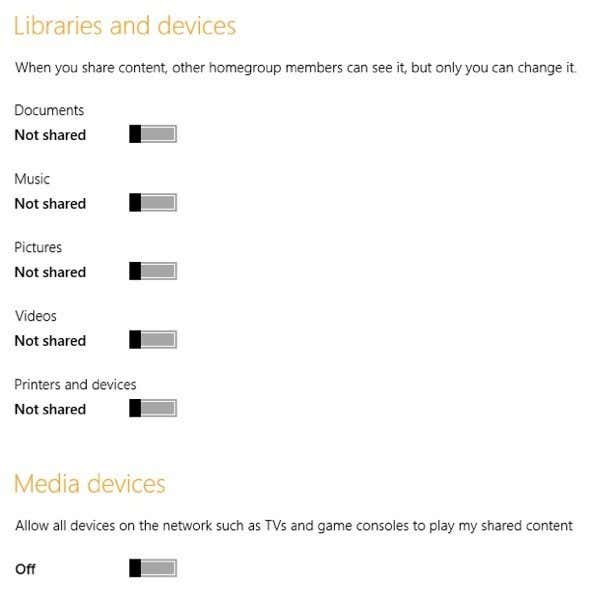
Once you type in the password, you’ll see a list of toggle switches where you can turn on and turn off what you want to share on your Windows 8 PC.
You can also choose whether or not you want your content to be streamable to TV’s or game consoles like the xBox and PlayStation. That’s pretty much it! Now you can easily access data between your Windows 7 and Windows 8 machines without any technical know-how. If you’re having problems connecting to a homegroup or the homegroup is not showing up, post a comment and I’ll try to help. Enjoy!